
I used to dread laundry day. That cramped corner in the back of my home felt more chore cave than convenient space. But after a recent laundry room renovation, I’m a laundry convert.
In this guide, I’ll walk you through how you can transform an unsung household space into a stylish, highly functional laundry room. Think of it like giving your clothes-care routine a first-class upgrade – from budgeting basics to killer layouts and clever design tricks, plus some Aussie flair thrown in. Let’s get started!
Imagine opening your laundry door and actually smiling. Renovating your laundry isn’t just a nice-to-have; it can make daily life smoother and even boost your home’s value. Melbourne families are especially savvy, often blending laundries with mudroom or pantry space in older homes.
By choosing the right paint, flooring and efficient appliances, you’ll save time (and money on utilities) in the long run. I’ve seen laundry makeovers go from drab to fab: adding built-in bench space, a bright colour pop, and streamlined storage all make it a pleasure to walk in.
Planning and Budgeting
Before you dive in, let’s talk about money and planning. A budget-friendly laundry renovation might cost around $5,000 for simple updates like fresh paint and new flooring. A mid-range reno – maybe adding new cabinets, a better benchtop and appliances – could be $10,000–$15,000.
At the high end (think changing the room layout, luxe tiles or top-of-line machines), you might spend $20,000 or more. I know that sounds like a lot, but it depends on how fancy you want to get.
- Scope it out: Decide if you’re doing cosmetic fixes (paint, handles, tapware) or structural changes (moving walls, replacing plumbing). Cosmetic tweaks are cheaper; big moves cost more.
- Get quotes: Talk to tradies or designers for realistic estimates. If budgets blow out, consider phased upgrades (do cabinetry now, appliances later).
- Pro tip: Don’t forget hidden costs – permits, electricians or plumbers, and waterproofing. In Australia, laundry floors and walls often must be waterproofed by a licensed pro (a rule under the Building Code). So, if moisture is involved, leave it to the experts.
For context, here’s how costs can add up:
| Renovation Scope | Typical Cost (AUD) |
|---|---|
| Basic (simple refresh: paint, hardware, flooring) | $5,000 – $10,000 |
| Mid-Range (new cabinetry, updated fixtures, standard appliances) | $10,000 – $20,000 |
| High-End (layout changes, premium materials, luxury appliances) | $20,000+ |
Planning well upfront pays off. I often sketch a floorplan to make sure there’s room for everything. If you find budgeting overwhelming, you could always reach out to Expert Laundry Room Renovations (no brand mention, but they’re pros in this space) for advice or designs. A few dollars spent on a good plan can save you a lot of hassle later.
Layout and Design Tips
Layout is king in any renovation. I treat every laundry like a mini kitchen: efficient triangles (washer, dryer, sink) and everything within reach. Here are some golden rules I follow:
– Keep the washer and dryer together. Side-by-side or stacked, so clothes transfer easily. If space is tight, front-loaders stack perfectly.
– Put the sink nearby. A laundry tub is great for soaking or scrubbing; install it adjacent to the washer if you can.
– Plan an ironing station. I suggest a built-in fold-down ironing board or a pull-out drawer – one less bulky board leaning around.
– Choose your format: In apartments or tight spaces, a single-wall laundry (appliances, sink and cupboards on one wall) works well. In larger homes, a galley or L-shaped layout gives extra bench space.
Melbourne homes love a touch of style, too. I’ve seen laundries with bold feature walls – think jungle-print wallpaper or a chevron tile backsplash behind the tub. Natural light is a bonus (skylights or high windows work wonders), and don’t skimp on task lighting over benches.
Smart storage goes a long way: built-in cabinets and high shelves keep the room tidy. As one clever homeowner discovered, mounting a hanging rod under cupboards lets you air-dry shirts straight out of the dryer – genius move!
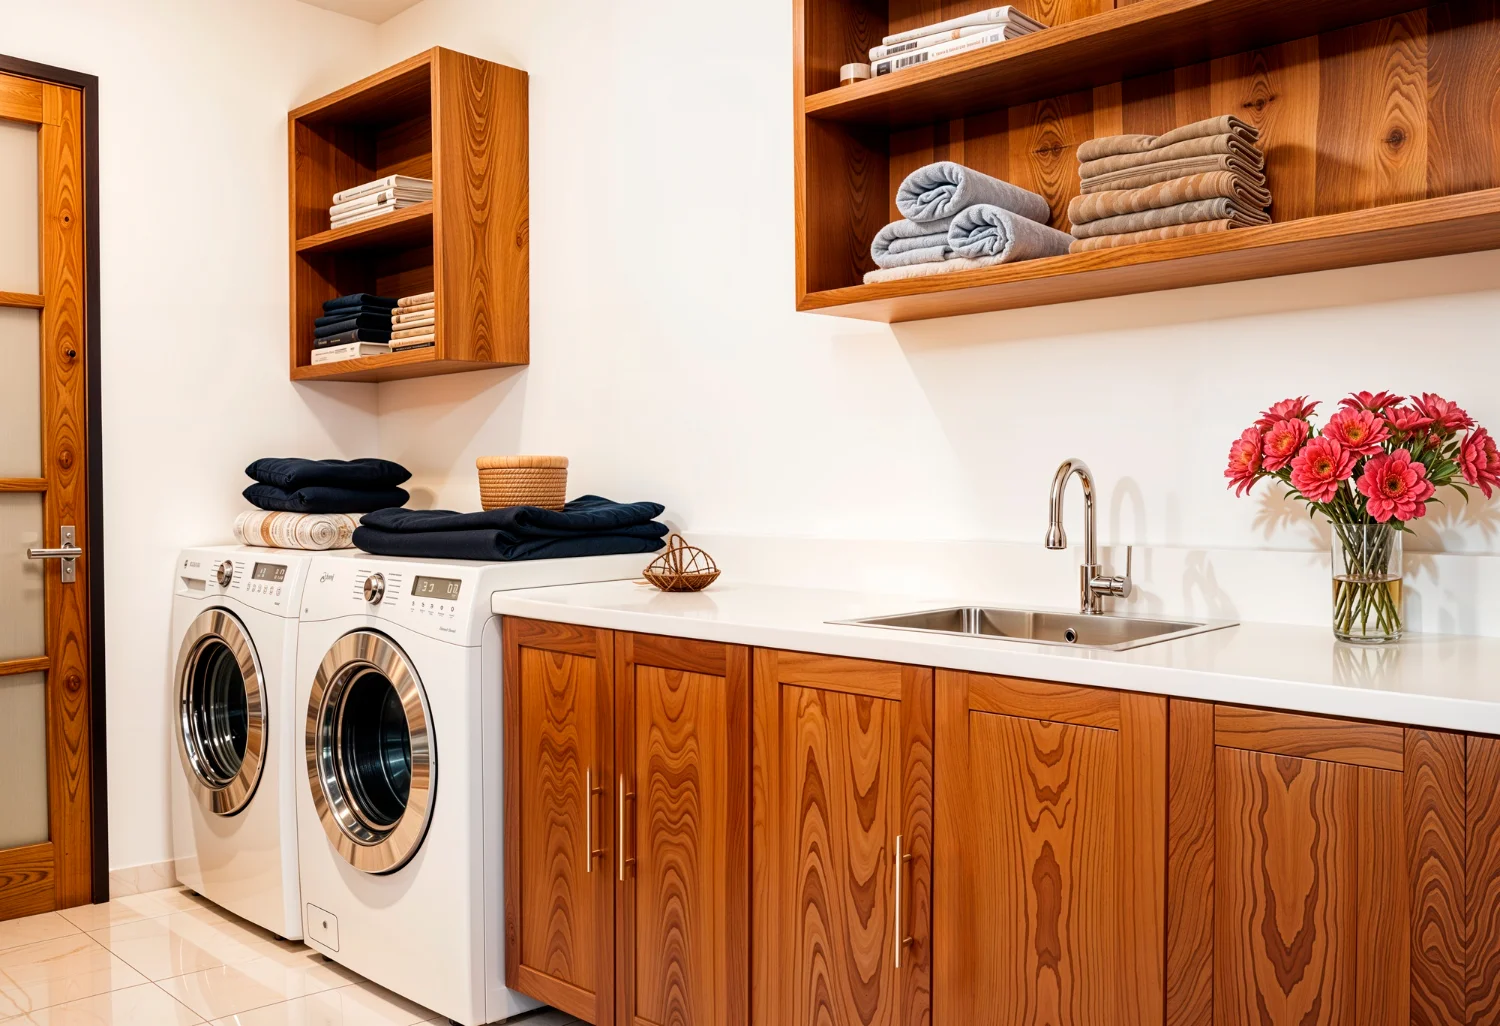
For flooring, slip-resistant tiles are a practical pick (a wet floor is a no-go). Light-coloured porcelain made my small laundry feel bigger. As for colours, crisp whites or cool greys keep it looking clean; or go bold with deep navy or forest-green cabinets for a high-end vibe.
Materials, Fixtures and Appliances
The right materials make your life easier. Go for moisture-resistant cabinetry (think PVC or waterproof laminates) and a durable benchtop. Stone or composite benchtops look chic (that marble pattern in the photo really dresses up the space) and can handle wear. If you’re on a budget, sealed plywood or laminate benchtops work too.
Here’s a quick appliance checklist I keep in mind:
– Washing machine: I swear by front-loaders. They handle big loads efficiently and now come in ultra-quiet, energy-efficient models. Even better, front-loading washers often use up to 50% less water than old top loaders. In fact, the water authority Melbourne Water notes this efficiency. Aim for 4–5 stars on water efficiency and a solid energy rating.
– Clothes dryer: A must in Melbourne’s rainy winters. Heat-pump dryers are pricier upfront but gentler on clothes and kinder to the power bill. If you’re on a tighter budget, a standard vented dryer works, but be sure to vent it outside to avoid indoor humidity.
– Laundry sink: A deep trough-style sink is practical (so you can dunk muddy boots or bathe pups). Stainless steel or ceramic tubs are durable and look great. If space is limited, a combo unit with sink and drainer can do double-duty.
– Taps and mixers: Go with a swivelling mixer tap – so handy for directing water anywhere in the sink. In Australian wet areas, mixer taps are often mandatory anyway (no separate hot/cold mixers).
– Flooring: I mentioned tiles, but waterproof vinyl planks (with an Australian standards stamp) are another great choice. They mimic wood and are warm underfoot.
– Walls: A crisp, low-VOC paint or even half-height tiles behind sinks will prevent stains and mould. I half-painted my laundry a fun teal for moisture protection and it looks sharp with white tile above.
The prices can vary: a good mid-range washer might be $800–$1,200, and a dryer $700–$1,000. But shopping around – say at end-of-financial-year sales – can save you big. And remember, a high-efficiency appliance might cost more upfront but will pay for itself in lower bills down the track.
Storage and Organization Solutions
Good storage can make or break a laundry. I’m all about using every nook. Think floor-to-ceiling cupboards if you have the height: many Aussies tuck their washing machine behind bi-fold doors or in a compact alcove. Wall cabinets above the machines hide clutter, and open shelves can hold baskets for laundry products.
Don’t forget open organization: a shelf with wicker baskets or baskets on a wall make supplies easy to grab. Hooks or a pegboard on the wall are perfect for hanging ironing boards, brooms or bags of dirty laundry. I even installed a slim rolling cart under my bench – it slides out to hold detergents and disappears when not in use.
A clever trick: install a rod or hanging rack above the bench (or beneath a cabinet) for drying shirts. Some people use a retractable laundry line that tucks away. Even a simple towel bar beside the sink gives a spot for drying hands or small items. A bench with built-in laundry bins (or slide-out hampers) keeps dirty laundry off the floor, and it can double as a landing spot for handbags or shoes – turn the chore station into a drop-zone.
Finally, accessories make it personal. In my laundry I hung framed prints and a cheeky sign (blaming laundry on missing socks – see the photo!). A dash of greenery (even a small plant or two) can brighten things.
Lighting matters too: under-cabinet lights over the bench make sorting whites from colours easy. I swapped my basic fluorescent tube for a slim LED panel – instant bright boost. Basically, if you see something messy, find a storage hack for it!
Energy Efficiency and Sustainability
Now, let’s talk about savings. Australians love efficiency – and a smart laundry reno can save on power and water. Start with appliances: front-loading washers are big water-savers (that 50% less water stat is no joke). Also, look for high WELS star water ratings and Energy Star or MEPS energy ratings on any new machine.
If you’re serious about going green, consider these moves:
– Greywater reuse: Let that rinse-water from your laundry water the garden. (In Melbourne, installing a full greywater system needs a permit, but even collecting rinse water in a bucket is a start.)
– Efficient fixtures: A water-saving tap and splashback on your laundry tub, plus a dual-flush toilet nearby, will shave kilolitres off your usage.
– High-tech dryers: Invest in a heat-pump dryer (they’re expensive but extremely energy-efficient), or better yet, run your clothes dryer off your home’s solar panels if you have them.
– LED lighting: Swap any old lights for LEDs. They use tiny wattage, stay cool, and last ages.
– Insulation: If your laundry shares an exterior wall or sits over a garage, make sure it’s well-insulated. A warm, dry laundry is easier on appliances and cuts heating/cooling costs.
It’s worth checking government rebates too: utilities often offer rebates for energy- or water-efficient appliances (like cheap front-loading washers or discounted heat-pump dryers). Every upgrade you make now is cheaper than paying for wasted water and power later.
DIY vs Hiring a Pro
So, should you do it yourself? I’m all for a bit of DIY (I painted my own cabinets and even laid vinyl flooring), but critical areas need licensed tradies – especially plumbing and electrics. (In Australia, even small mistakes on a water line can create big floods, and insurance might not cover unauthorised work.)
If you’re reusing the same layout (no new walls or windows), you might save by tackling painting, tiling or even installing open shelves yourself. But if you’re moving the tub, changing drains, or adding outlets, hire a plumber or electrician. In Victoria, for example, any change to plumbing or wiring has to meet strict Australian Standards and often requires a licensed installer.
My advice: do the fun stuff yourself (painting, choosing tiles, styling shelves) but leave the guts to the experts. A skilled builder or joiner will ensure cabinets fit perfectly and seams are sealed properly. And hire a draftsman or interior designer for a quick layout plan if you can – that one step often saves thousands by preventing mistakes.
Conclusion
Revamping a laundry room may sound daunting, but think of it as turning a plain utility zone into a happy, high-functioning space. By planning your budget wisely, choosing an efficient layout, and picking durable materials, you’ll get more than just a cleaner laundry – you’ll get extra storage, big time savings on bills, and a room you actually enjoy stepping into.
I hope this guide gave you practical insights and inspiration. Take your time visualizing how you want to use the space. Grab some paint swatches and tile samples, sketch a layout, and maybe enjoy a latte in the (soon-to-be) best room in the house. Remember, a little prep goes a long way.
Ready to start your laundry room makeover? Begin planning today and see the difference for yourself!
Frequently Asked Questions
How much does a laundry renovation cost in Melbourne?
Costs vary widely based on size and scope. On average, a basic refresh (new paint, flooring, some shelves) might start around $5,000 in Australia. A mid-range makeover (adding cabinetry, better appliances) typically costs $10,000–$15,000. Larger projects (moving plumbing or high-end finishes) often land in the $20,000+ range. Keep in mind Melbourne labor and materials can be a bit pricier than rural areas, so get multiple quotes and add a buffer.
What layout works best for a small laundry?
Single-wall or galley layouts are usually best for tight spaces. I recommend stacking the washer and dryer to save floor area, with shelves or cabinets above. Use every inch: a tall slim cupboard beside the machines can hold brooms and mops, and a fold-down table on the wall can act as an instant folding bench. Sliding doors or bi-folds can also save space compared to a swinging door.
Do I need council approval or permits for a laundry reno?
Generally, cosmetic changes (paint, new cabinets) don’t require approval. But if you alter plumbing, move walls, or enlarge the space, you may need a building permit or planning permit under local regulations. All electrical and plumbing work must meet Australian Standards. I recommend checking with your local council or a registered certifier if you’re unsure – it’s better to confirm before you start.
How can I make my laundry more eco-friendly?
Choose energy- and water-efficient appliances (look for high star ratings), use LED lighting, and consider greywater reuse for your garden. Installing a heat-pump clothes dryer or simply hanging clothes on a line on sunny days also cuts power usage. Insulating the room and using mildew-resistant paint will reduce heating and mold issues. Each little change adds up: after upgrading, I noticed a clear drop in my energy and water bills within a year.
Any tips to keep costs down?
Reuse what you can: if your existing cabinets are solid, maybe just repaint them. Shop around for appliances (outlet stores or seasonal sales can offer big savings). Consider doing the labor yourself where safe (painting, tiling) but hire pros for the heavy stuff. A solid plan is the best money-saver – the more decisions you make upfront, the fewer costly changes you’ll need later.